To inspect an asphalt driveway after winter, wait for a dry day once the ground has thawed, sweep the surface clean, then check it in five passes: cracks, potholes, crumbling edges, drainage, and surface fading. Mark every issue, fix cracks and holes first, then sealcoat once nights stay warm.
Why spring is the right time to inspect
Asphalt takes more abuse between December and March than any other stretch of the year. Water seeps into hairline cracks, freezes, expands by about 9 percent, then thaws. Repeat that cycle dozens of times and a thin crack becomes a wide one, and a wide crack becomes a pothole. The Federal Highway Administration documents this freeze-thaw mechanism as the leading cause of seasonal pavement damage in cold climates. By the time spring arrives, the damage is done, but it is also at its most visible and its cheapest to repair.
Spring is also the start of the repair window. Crack filler, patch material, and sealer all need warm, dry conditions to cure properly, so the inspection you do now sets up the work you will schedule over the next month or two. Catching a problem in April that you would otherwise discover in July often means a 40 dollar tube of crack filler instead of a 500 dollar patch job. If you want to understand how the cold actually causes this, our guide on freeze-thaw damage breaks down the chemistry.
Step 1: Clear and dry the surface
You cannot inspect what you cannot see. Sweep off the winter buildup first: sand, road salt, gravel, leaves, and the gritty film that collects near the garage. A stiff push broom handles most of it, and a leaf blower speeds up a long driveway. If salt residue is heavy, a quick rinse with a garden hose helps, and our driveway cleaning guide covers deeper washing.
Then wait for the surface to dry fully. A wet driveway hides hairline cracks and fills low spots, so you miss exactly the problems you are hunting for. Pick a day after 24 to 48 dry hours, ideally when temperatures sit above 50 degrees Fahrenheit so the asphalt is not still cold and brittle from overnight.
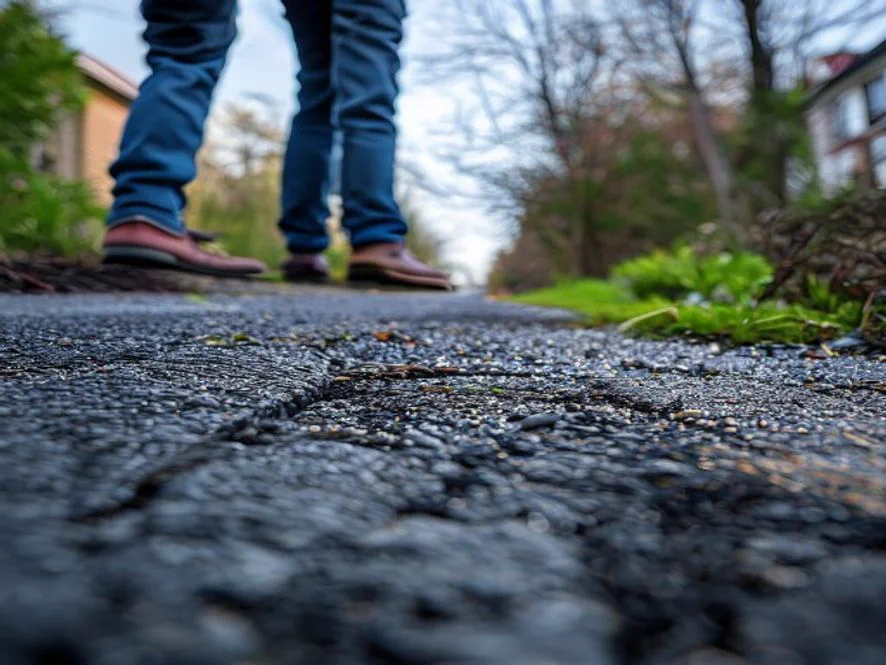
Step 2: Walk the surface and map every crack
Walk the driveway in a slow grid, the way you would mow a lawn, looking straight down. Mark each crack you find with chalk or a marker flag. You are sorting cracks into two buckets:
- Surface cracks. Thin, isolated lines under a quarter inch wide. These are routine and fillable. Learn the categories in our crack types guide.
- Structural cracks. Connected, scaly patterns that look like reptile skin point to base failure. Our alligator cracking guide explains why filler alone will not fix these.
Pay special attention to cracks that run along the same line as your tire tracks and any crack near the center where two paving passes met. Note the widest crack you find, because that number drives your repair plan. Anything you can fit a pencil into needs sealing this season before it lets in more water.
Step 3: Check edges, potholes, and soft spots
Edges are where asphalt fails first because they have the least support. Walk the full perimeter and press on any edge that looks ragged. Crumbling edges that flake under your shoe mean the unsupported lip is breaking down, covered in our edge crumbling fix.
- Potholes. Any bowl-shaped hole that exposes the base layer. These grow fast and should jump to the top of your list. See how to handle them in our pothole patching walkthrough.
- Soft spots. Areas that feel spongy or flex underfoot suggest water has gotten into the base. Mark these for a contractor look.
- Heaved sections. Raised bumps can mean frost heave or tree roots pushing from below.
Step 4: Test drainage and find low spots
Standing water is the slow killer of asphalt. After the surface is dry, either wait for a rain or pour a few buckets of water across the driveway and watch where it pools. Spots where water sits longer than an hour are birdbaths, and they accelerate cracking right where the water collects. Our standing water fix and drainage solutions cover the repairs. The Environmental Protection Agency notes that good stormwater drainage protects both your pavement and the soil around it.
While you are at it, look at where water leaves the driveway. If runoff dumps against the garage or pools at the apron, that is a grading problem worth solving before it undermines the slab.
Mini tool
Spring Repair Priority Scorer
Enter what you found during your inspection. This gives you a rough severity score and a suggested next step.
Estimate only. A spongy or sunken section always warrants a professional look regardless of score.
Step 5: Prioritize, repair, then seal
Now turn your map into a plan. The order matters because sealing over open cracks just traps water and wastes the coat. Work in this sequence:
- First, fix structural damage. Potholes, soft spots, and alligator areas. Use a cold or hot patch as covered in our cold patch versus hot mix guide.
- Next, seal cracks. Fill everything wider than a pencil with crack sealer and let it cure.
- Last, sealcoat. Apply a fresh coat only after repairs cure and nights stay above 50 degrees Fahrenheit.
To budget the year, slot these tasks into our maintenance schedule, which lines up each job with the right season. Industry research from the National Asphalt Pavement Association shows that routine crack sealing and timely sealcoating can extend a driveway's life well past the 20-year mark, while neglect can cut it nearly in half.
What spring repairs typically cost
Knowing rough numbers helps you decide what to DIY and what to hand off. Crack filler is cheap, around 10 to 20 dollars per tube or gallon, so a full driveway runs 30 to 80 dollars in materials. A cold patch pothole kit is 20 to 50 dollars. Professional crack sealing and patching usually lands between 200 and 600 dollars depending on how much damage winter left. Add roughly 100 to 300 dollars for sealcoating a standard two-car driveway. For larger jobs, run your dimensions through the asphalt calculator or the sealer calculator so you buy the right amount, and use the driveway cost calculator to sanity-check any contractor estimate.
Bottom line
A 45-minute spring inspection is the highest-return hour you will spend on your driveway all year. Sweep it, dry it, then check cracks, potholes, edges, and drainage in order. Most of what winter does is repairable for under 100 dollars in materials if you catch it now. Wait until summer and the same damage often costs five times more. Mark your findings, fix the structural problems first, seal the cracks, and finish with a coat once the weather warms.